St Davids Dewi Sant
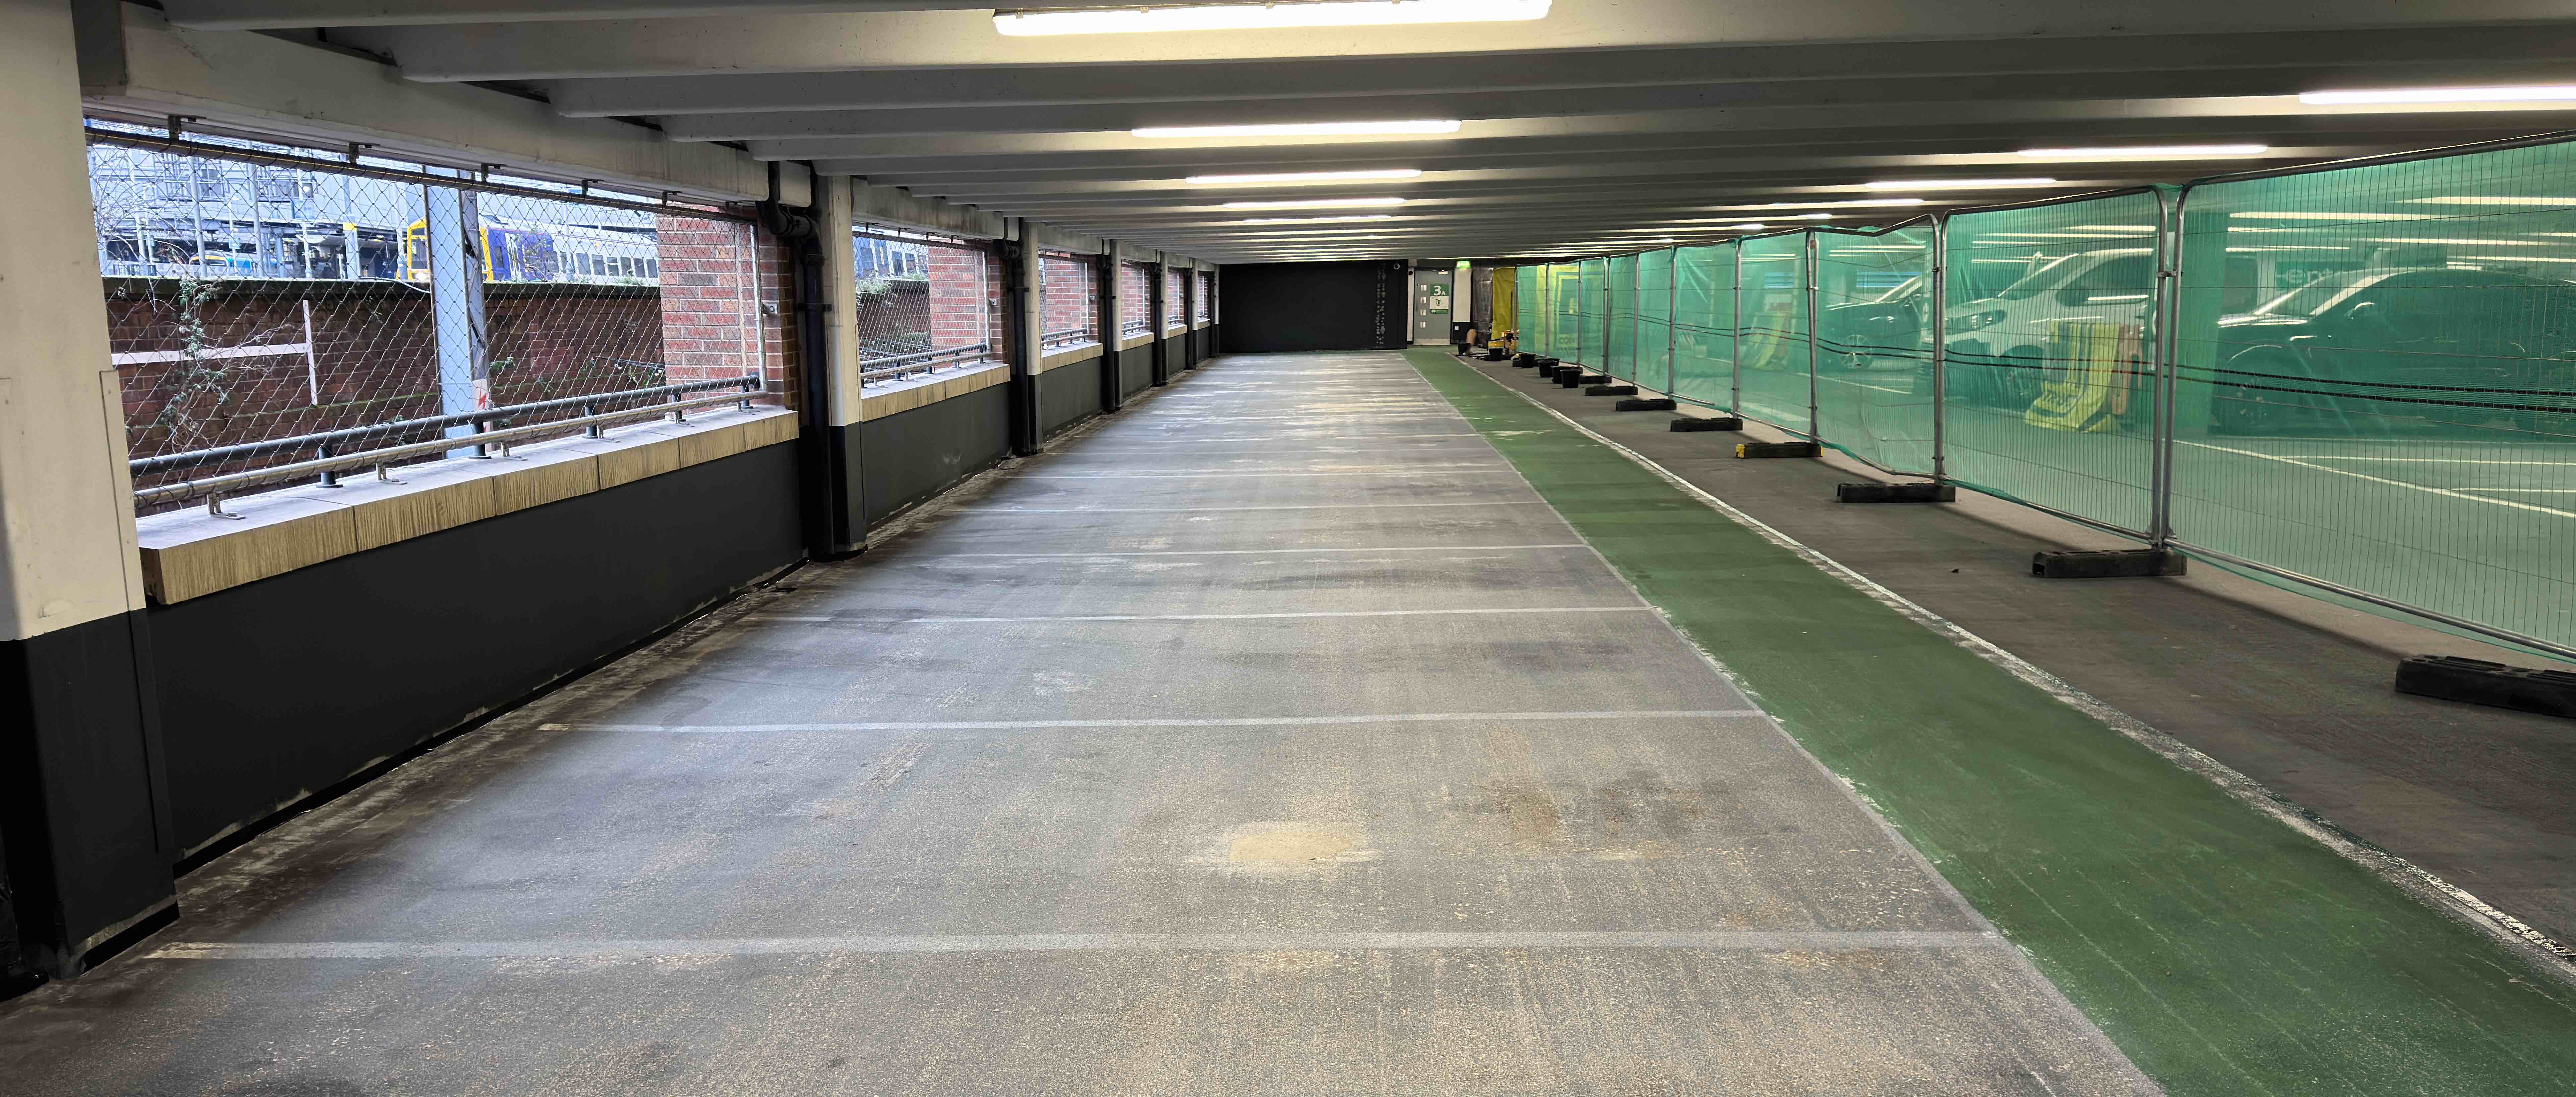
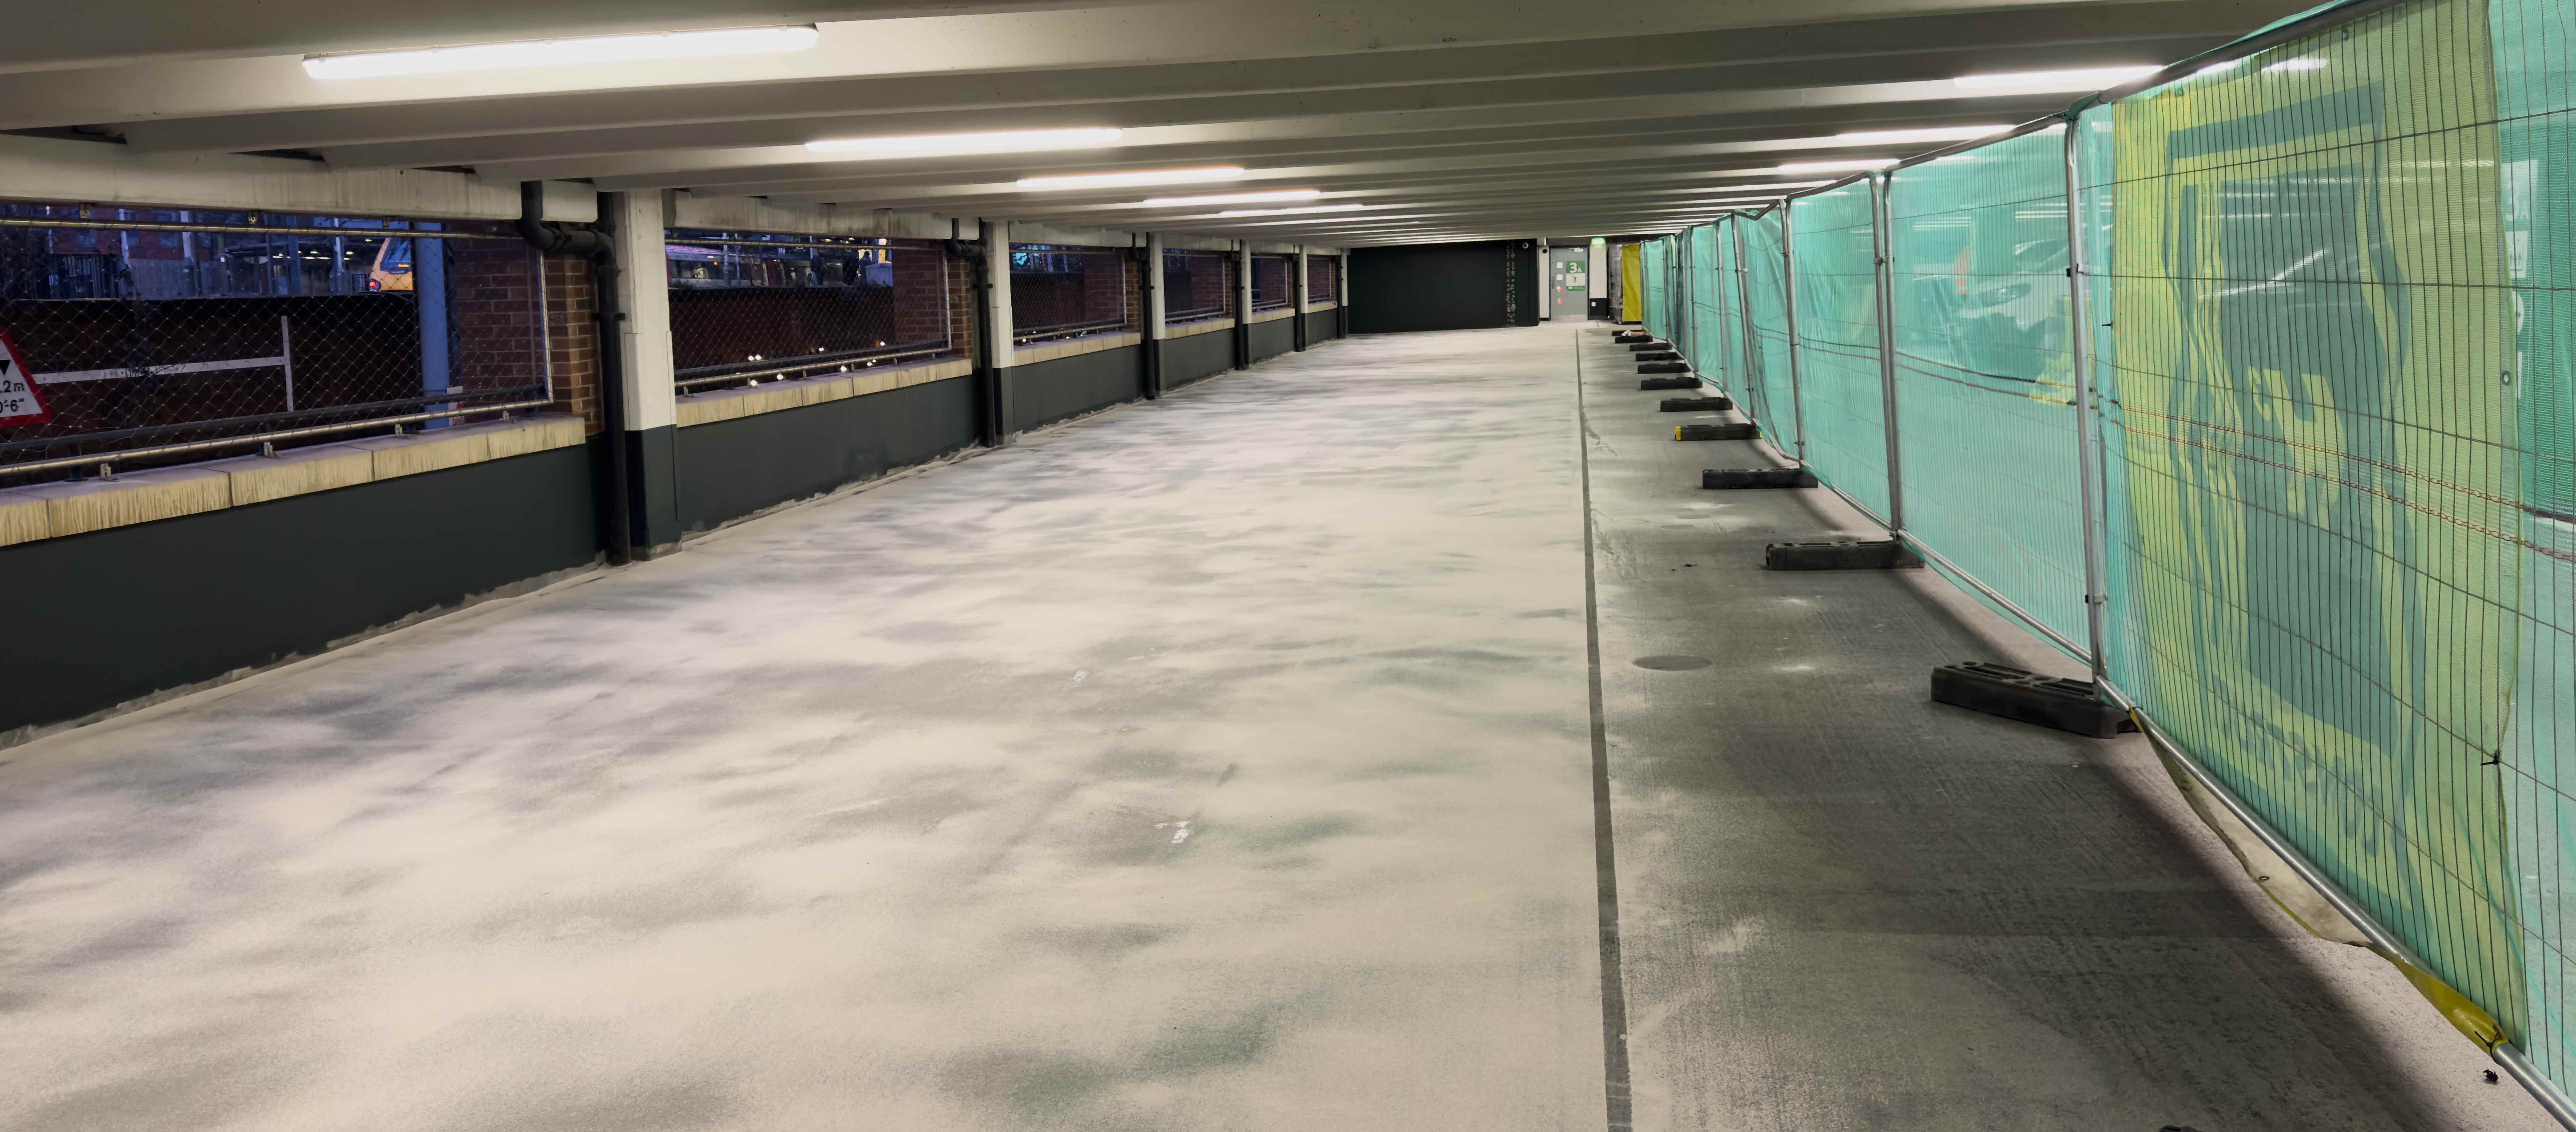
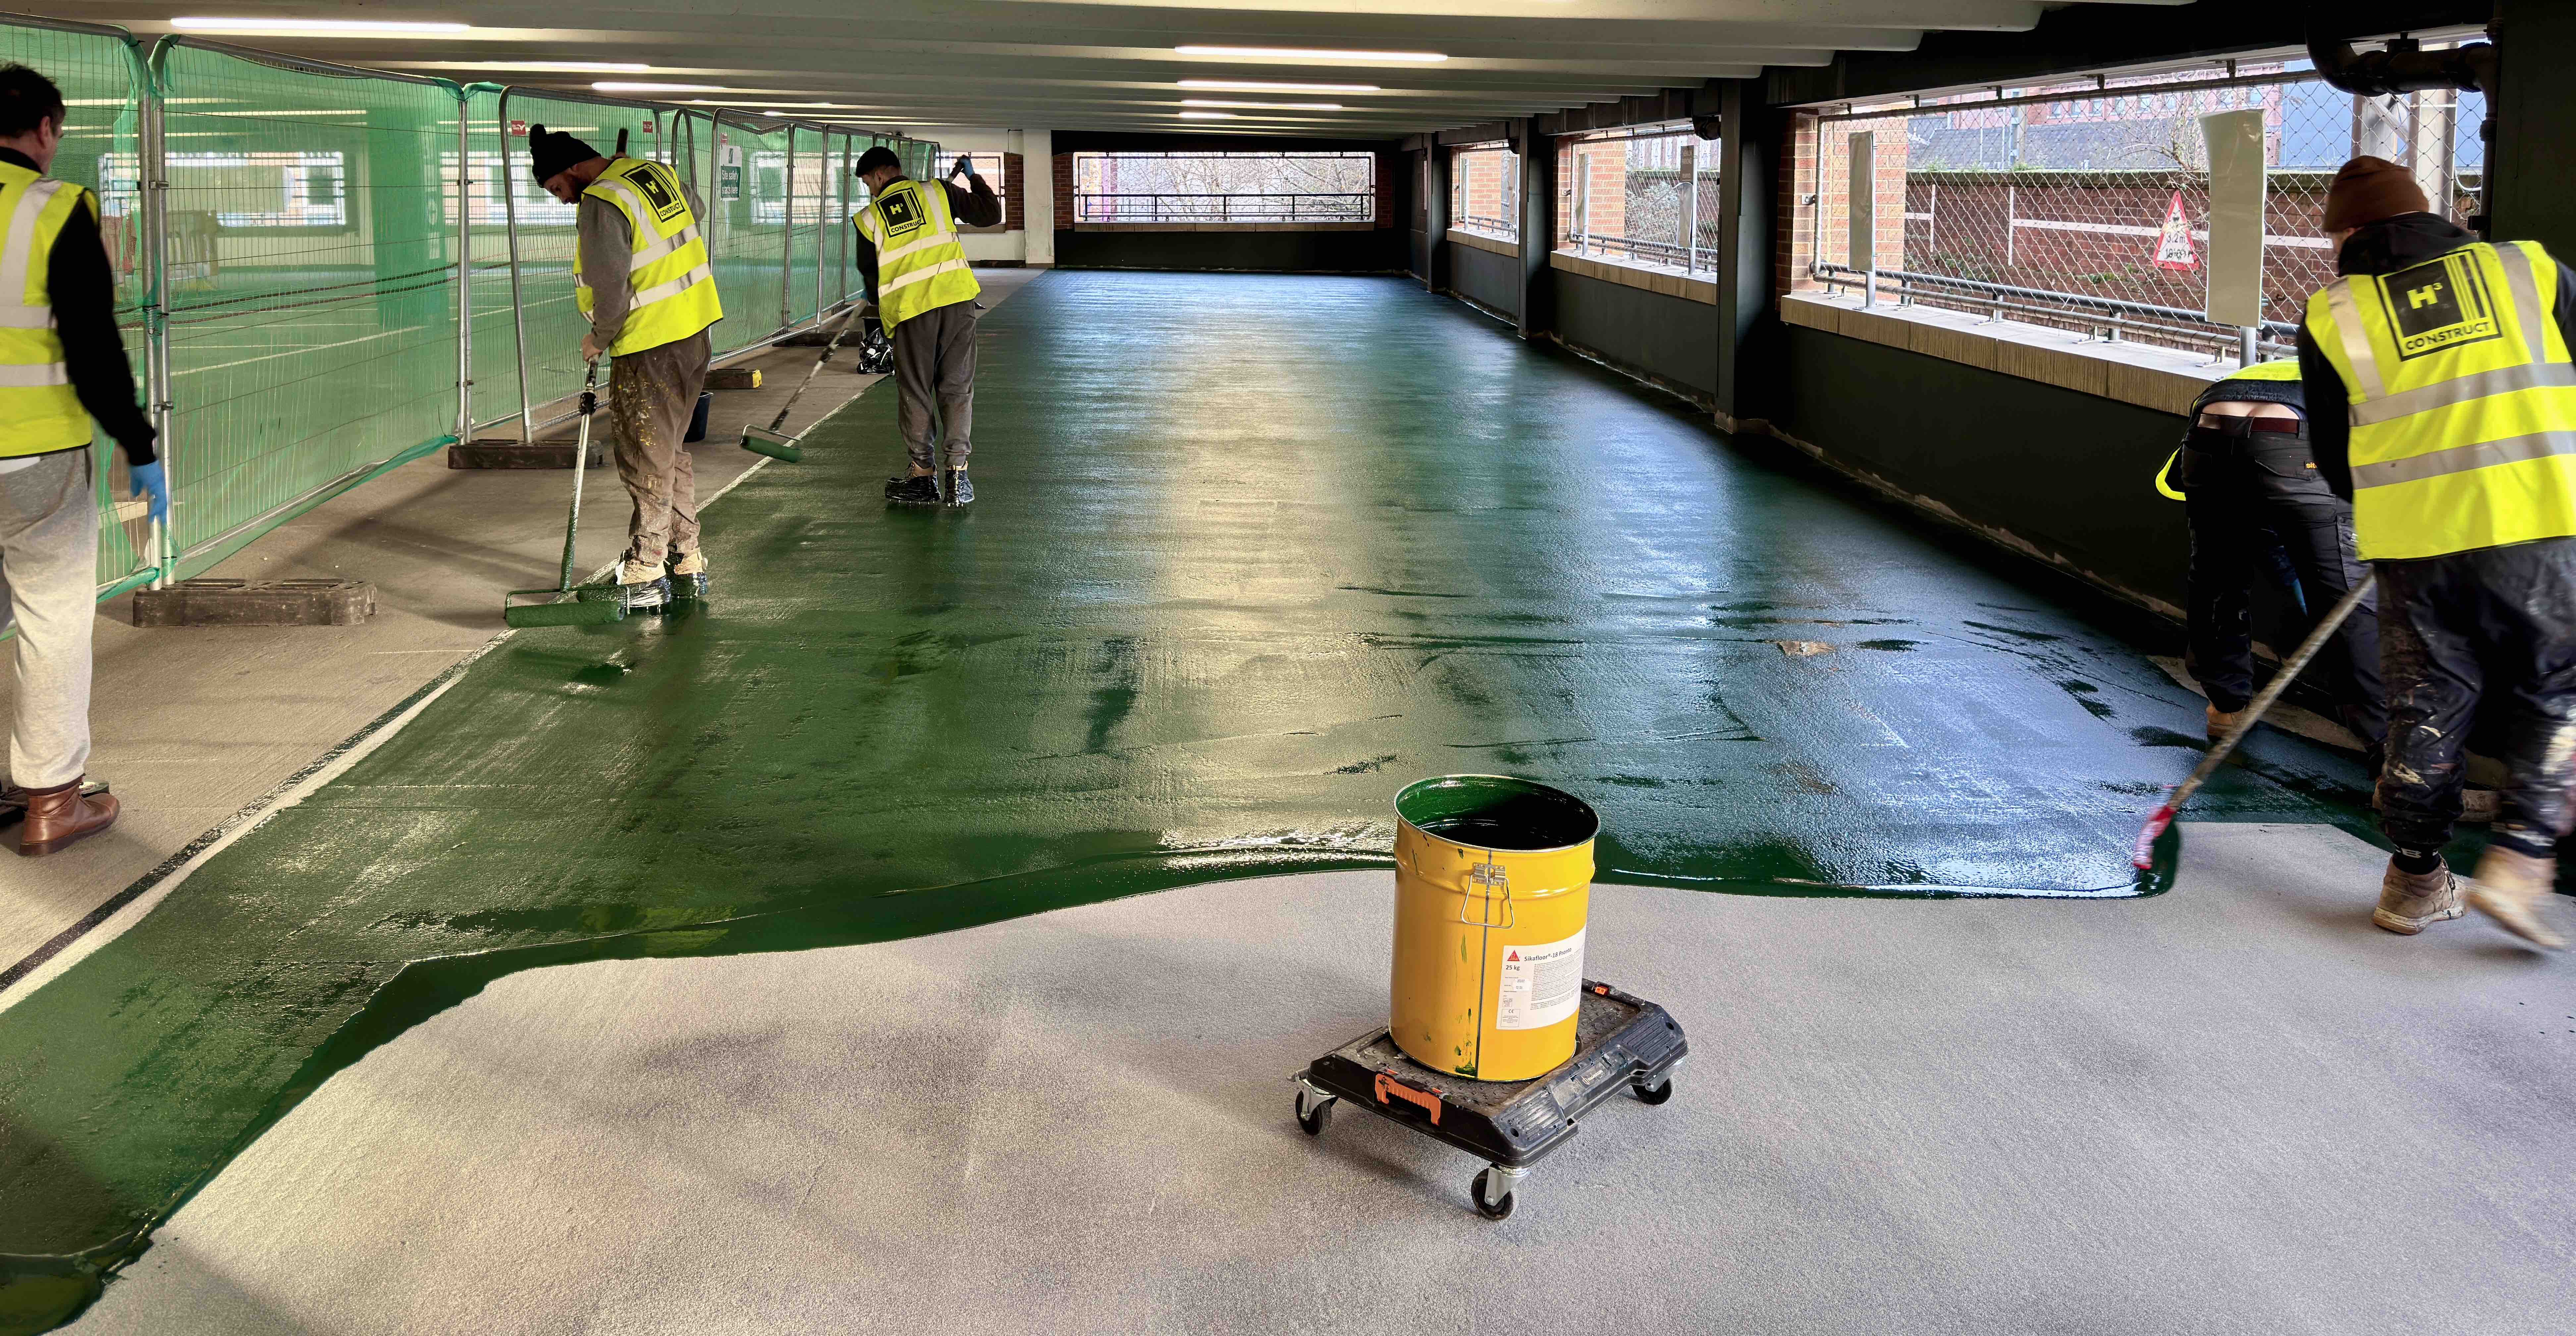
H3 Construct was appointed to deliver extensive remedial works across two operational car parks at St David’s Shopping Centre in Cardiff, including the main multi-storey structure and the basement-level John Lewis facility. The scope included deck coating repairs, concrete and asphalt works, structural render replacement and water ingress investigation and rectification.
One of the primary challenges was maintaining safe, uninterrupted public access throughout the project. Specific working parameters were enforced, including weekday-only closures on designated levels and out-of-hours works in areas such as the John Lewis basement. All required phased coordination and close liaison with the Centre’s management team.
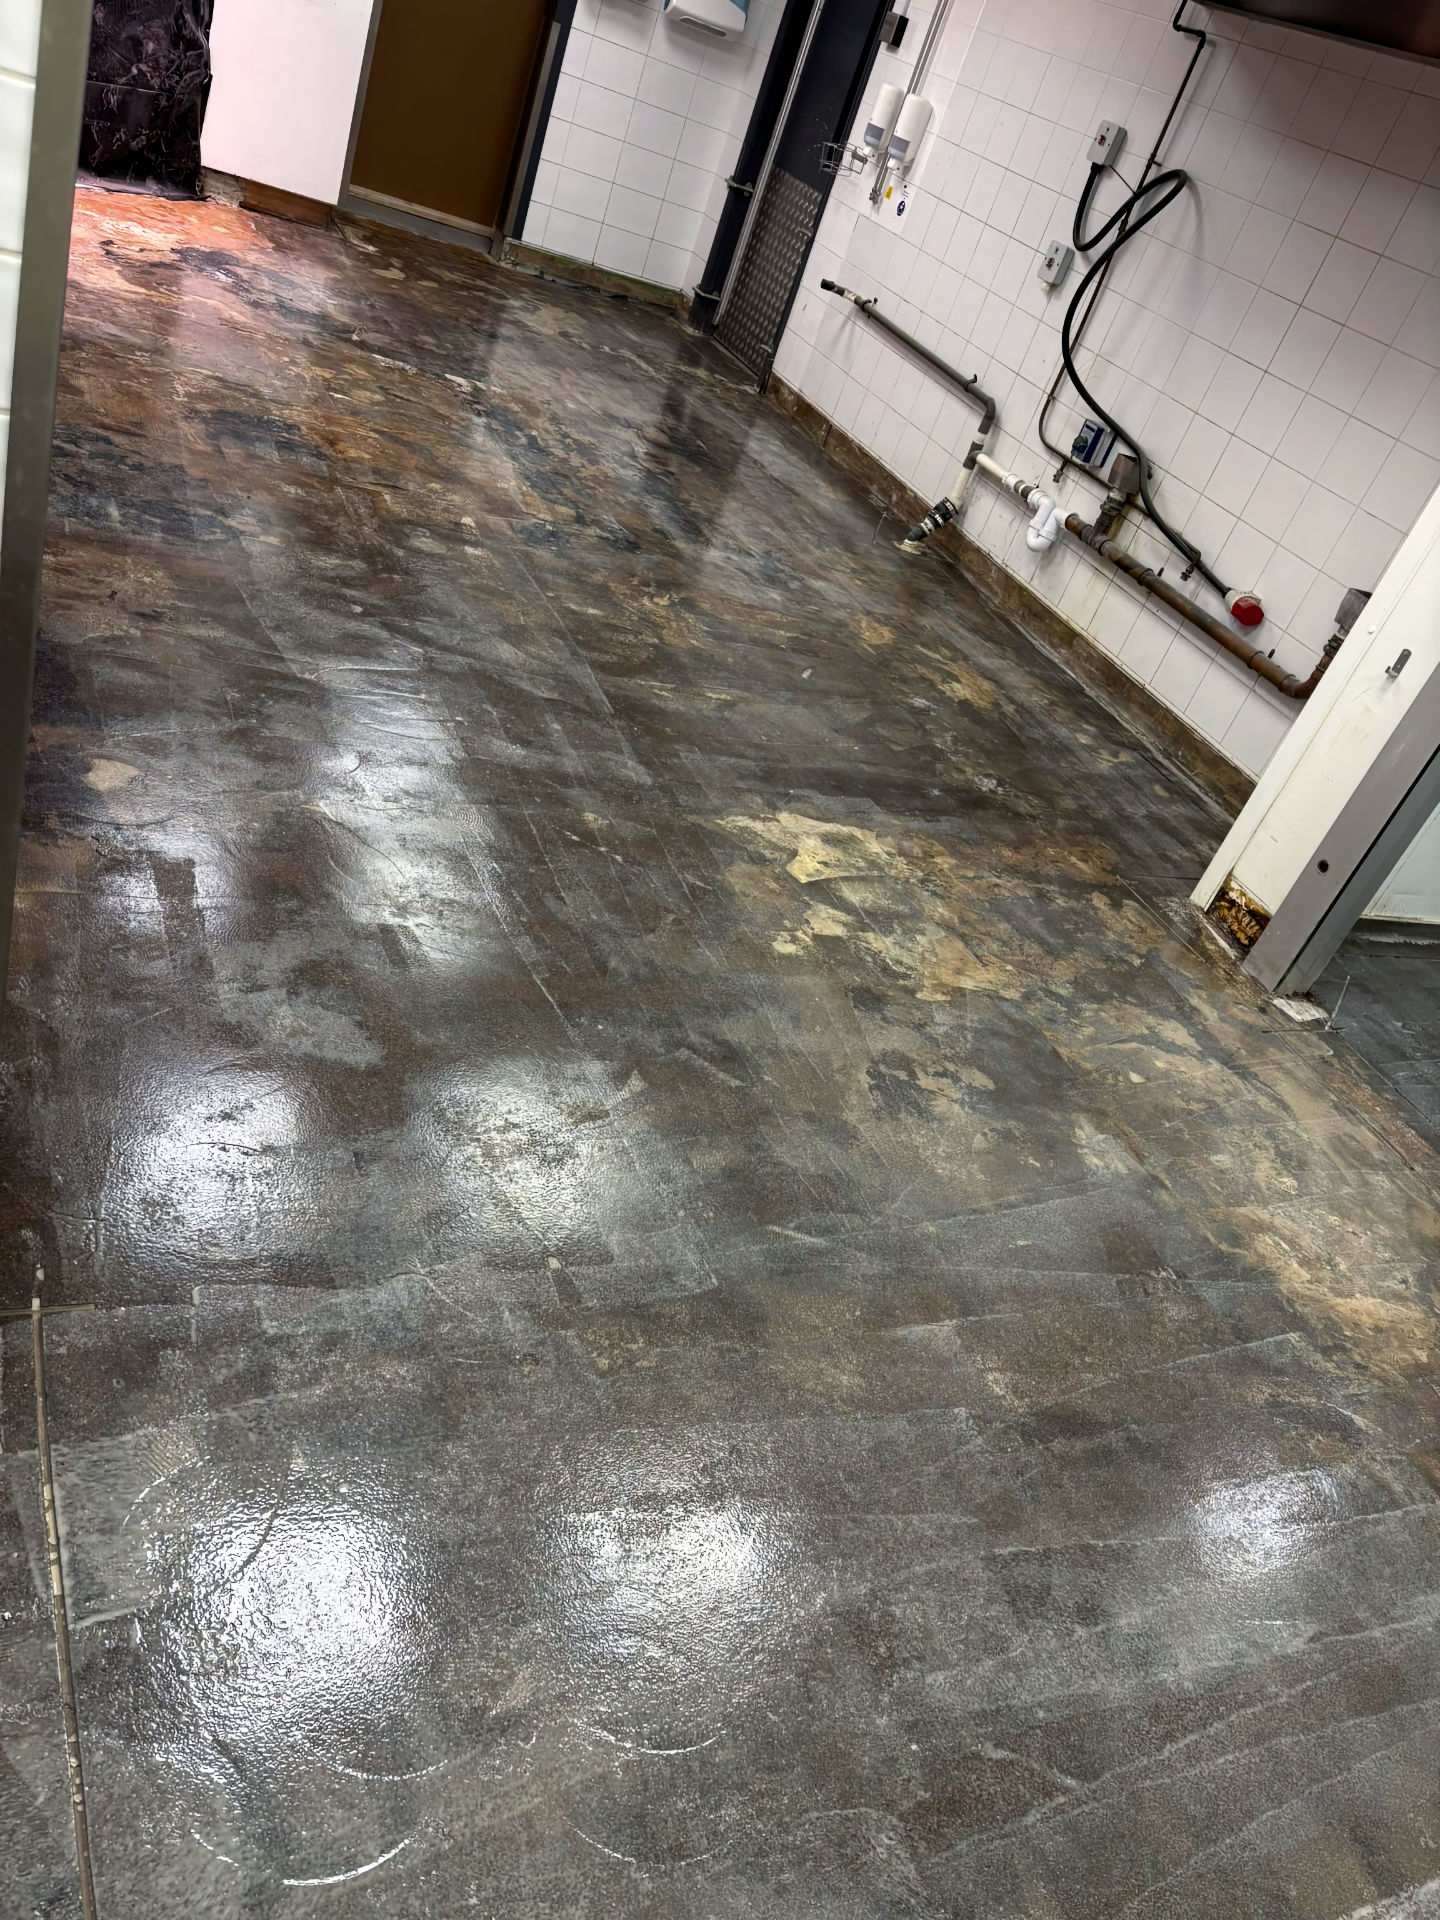
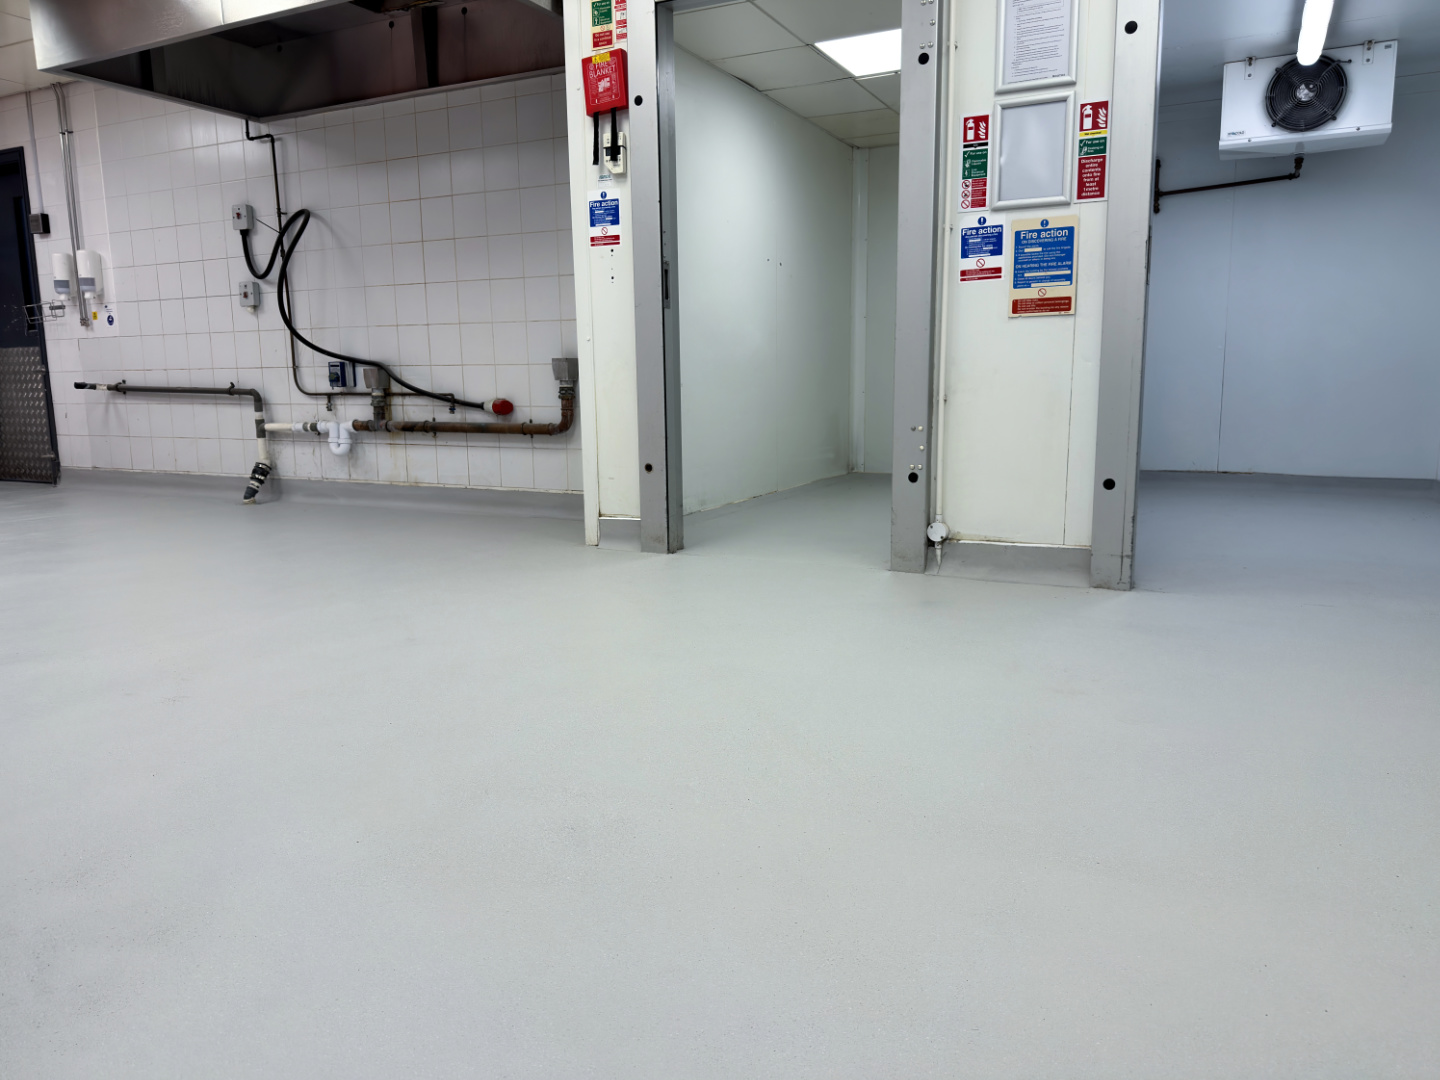
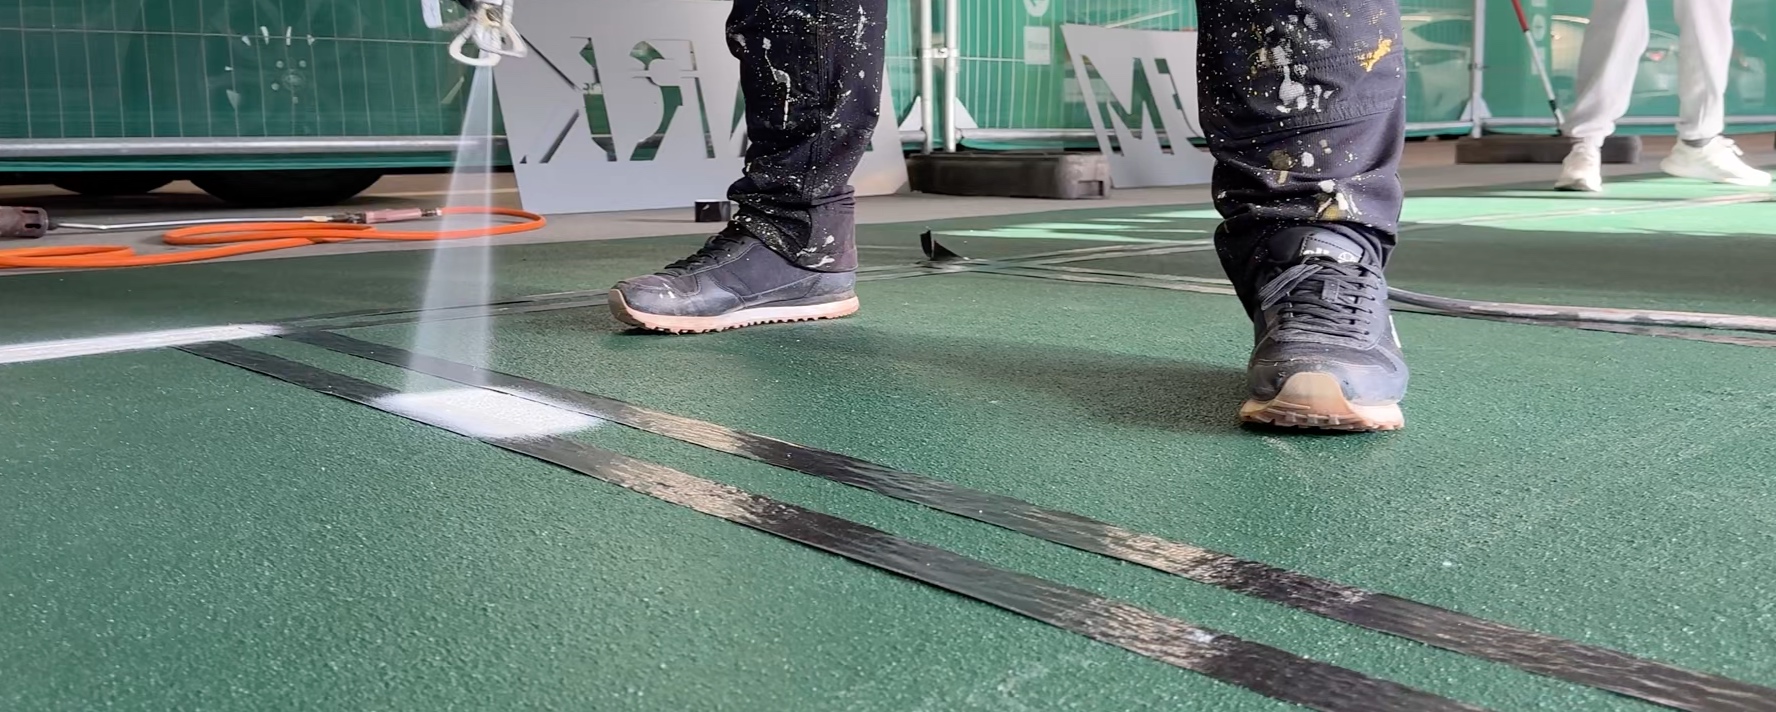
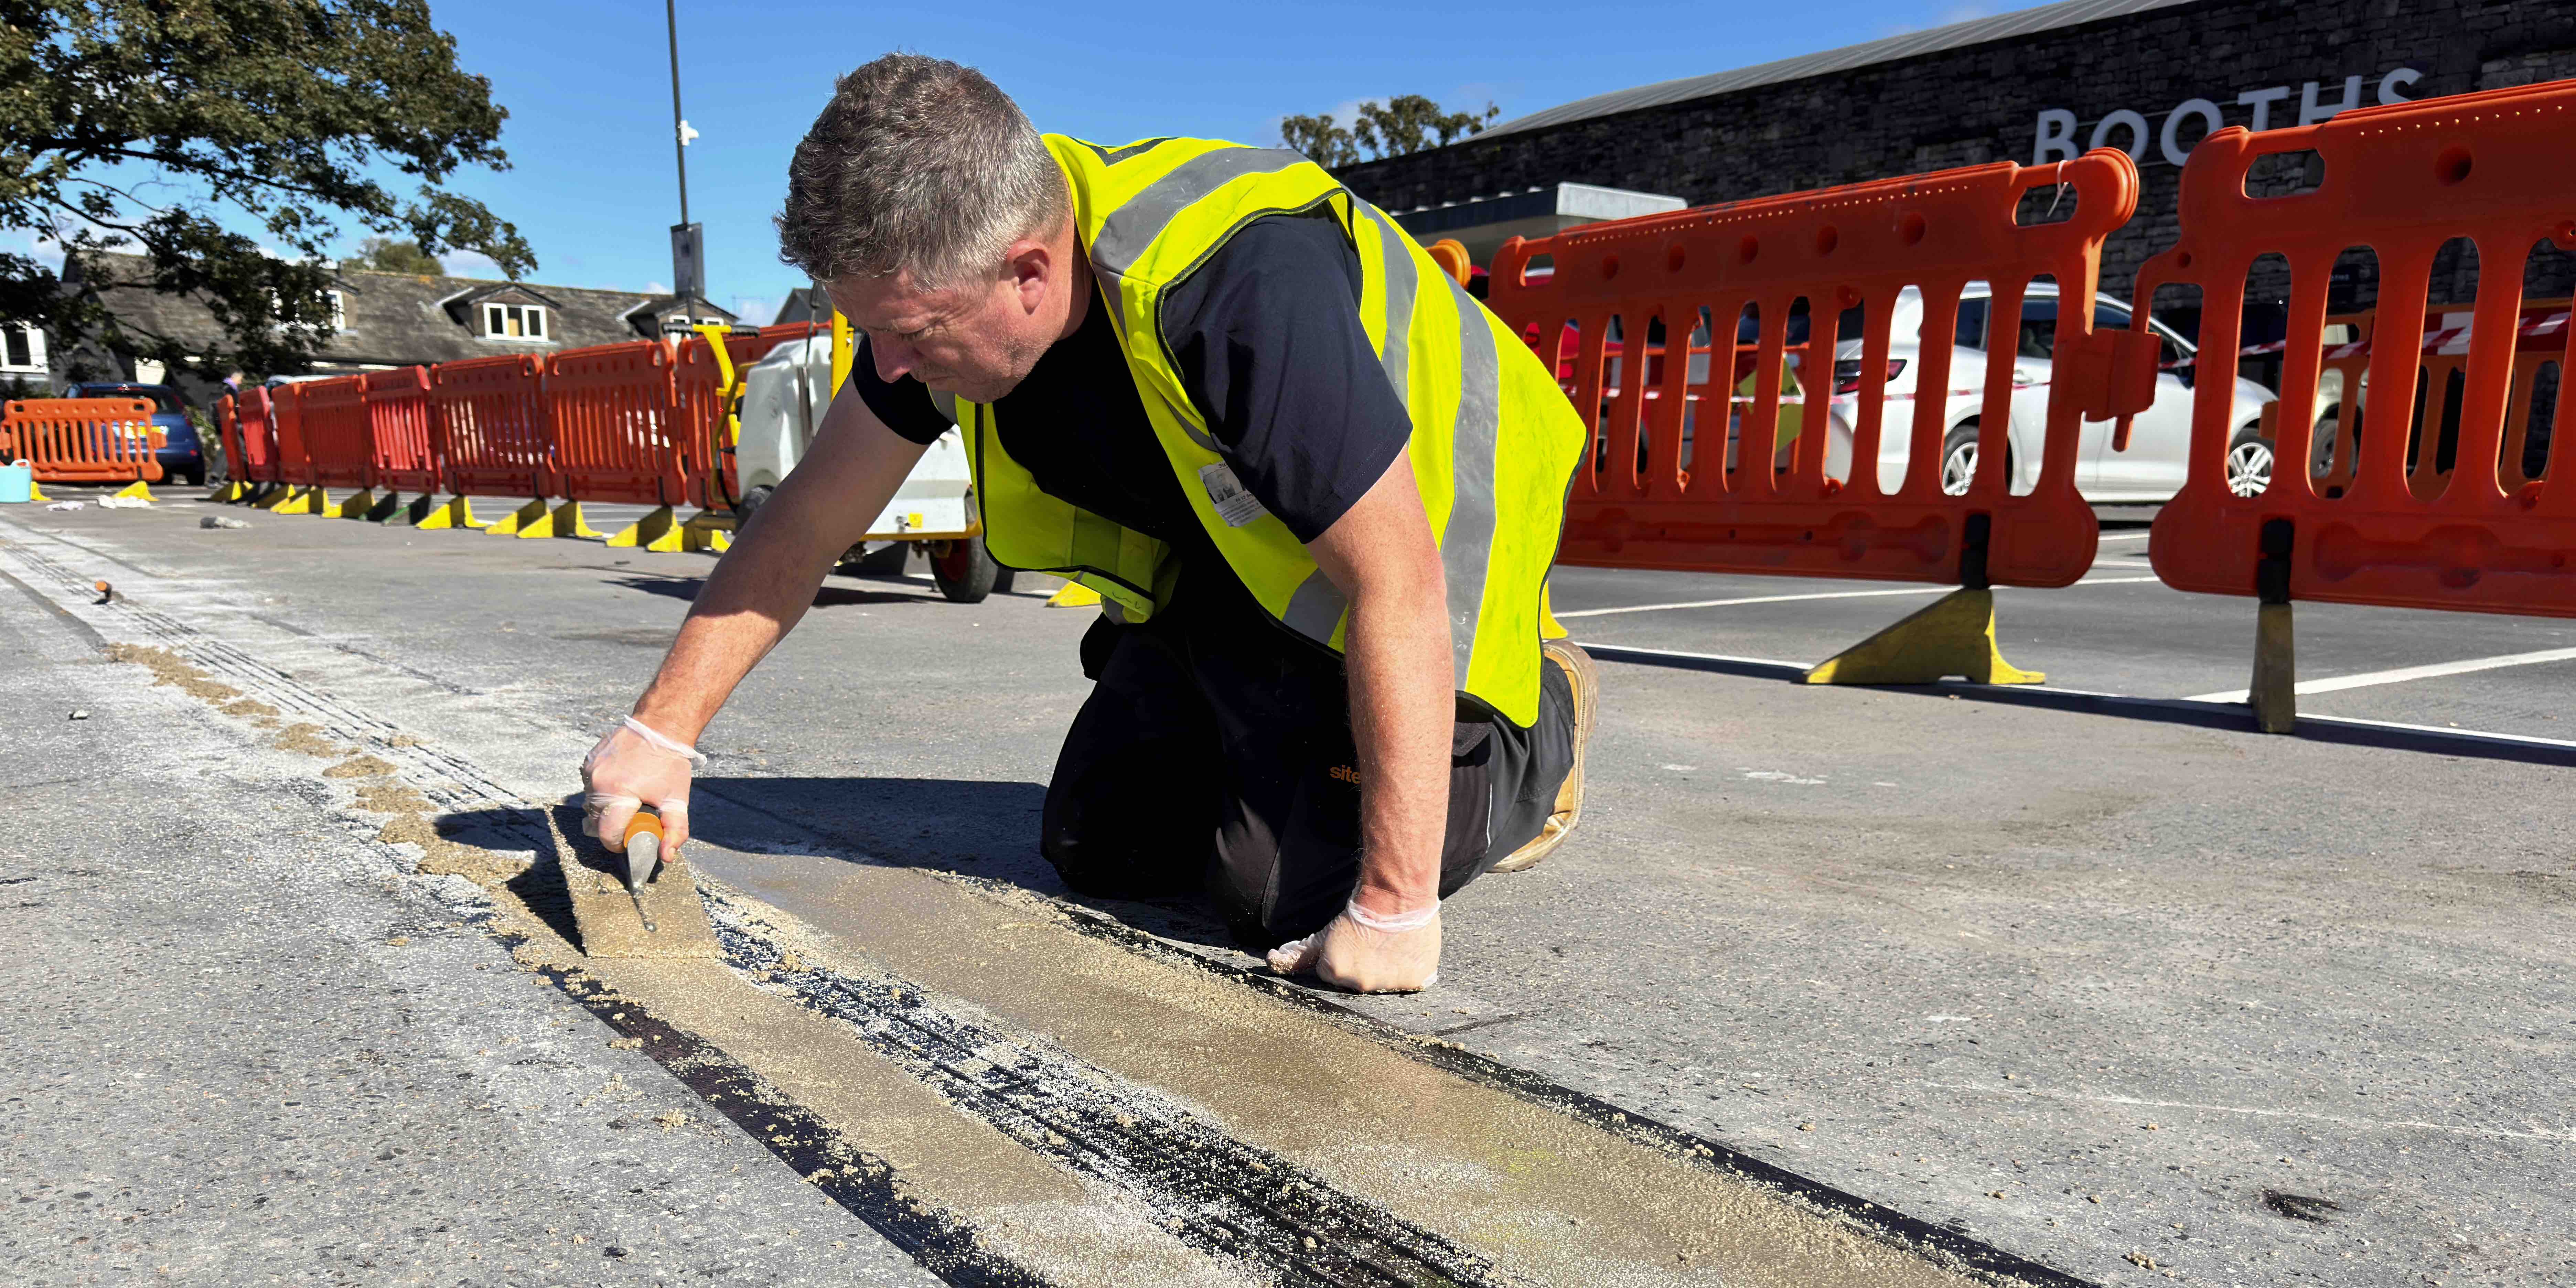
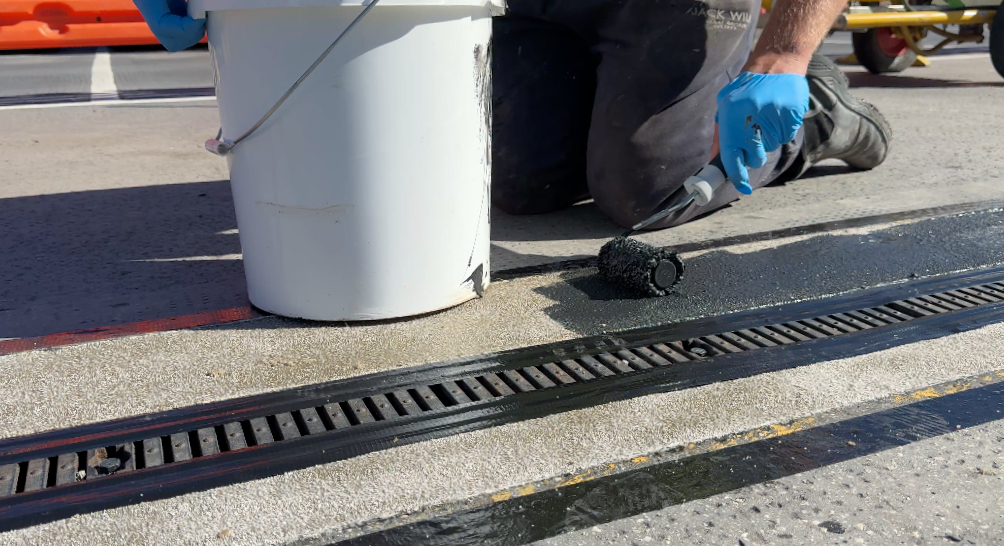
Deck coating repairs were carried out across multiple levels using a specification-compliant coating system from Sika. Works included substrate preparation via mechanical means, full assessment of the existing deck surfaces and detailed patch repairs totalling more than 80 separate locations. In the John Lewis car park, concrete repairs were also completed to columns and beam elements using BS EN 1504-compliant R4 repair mortars.
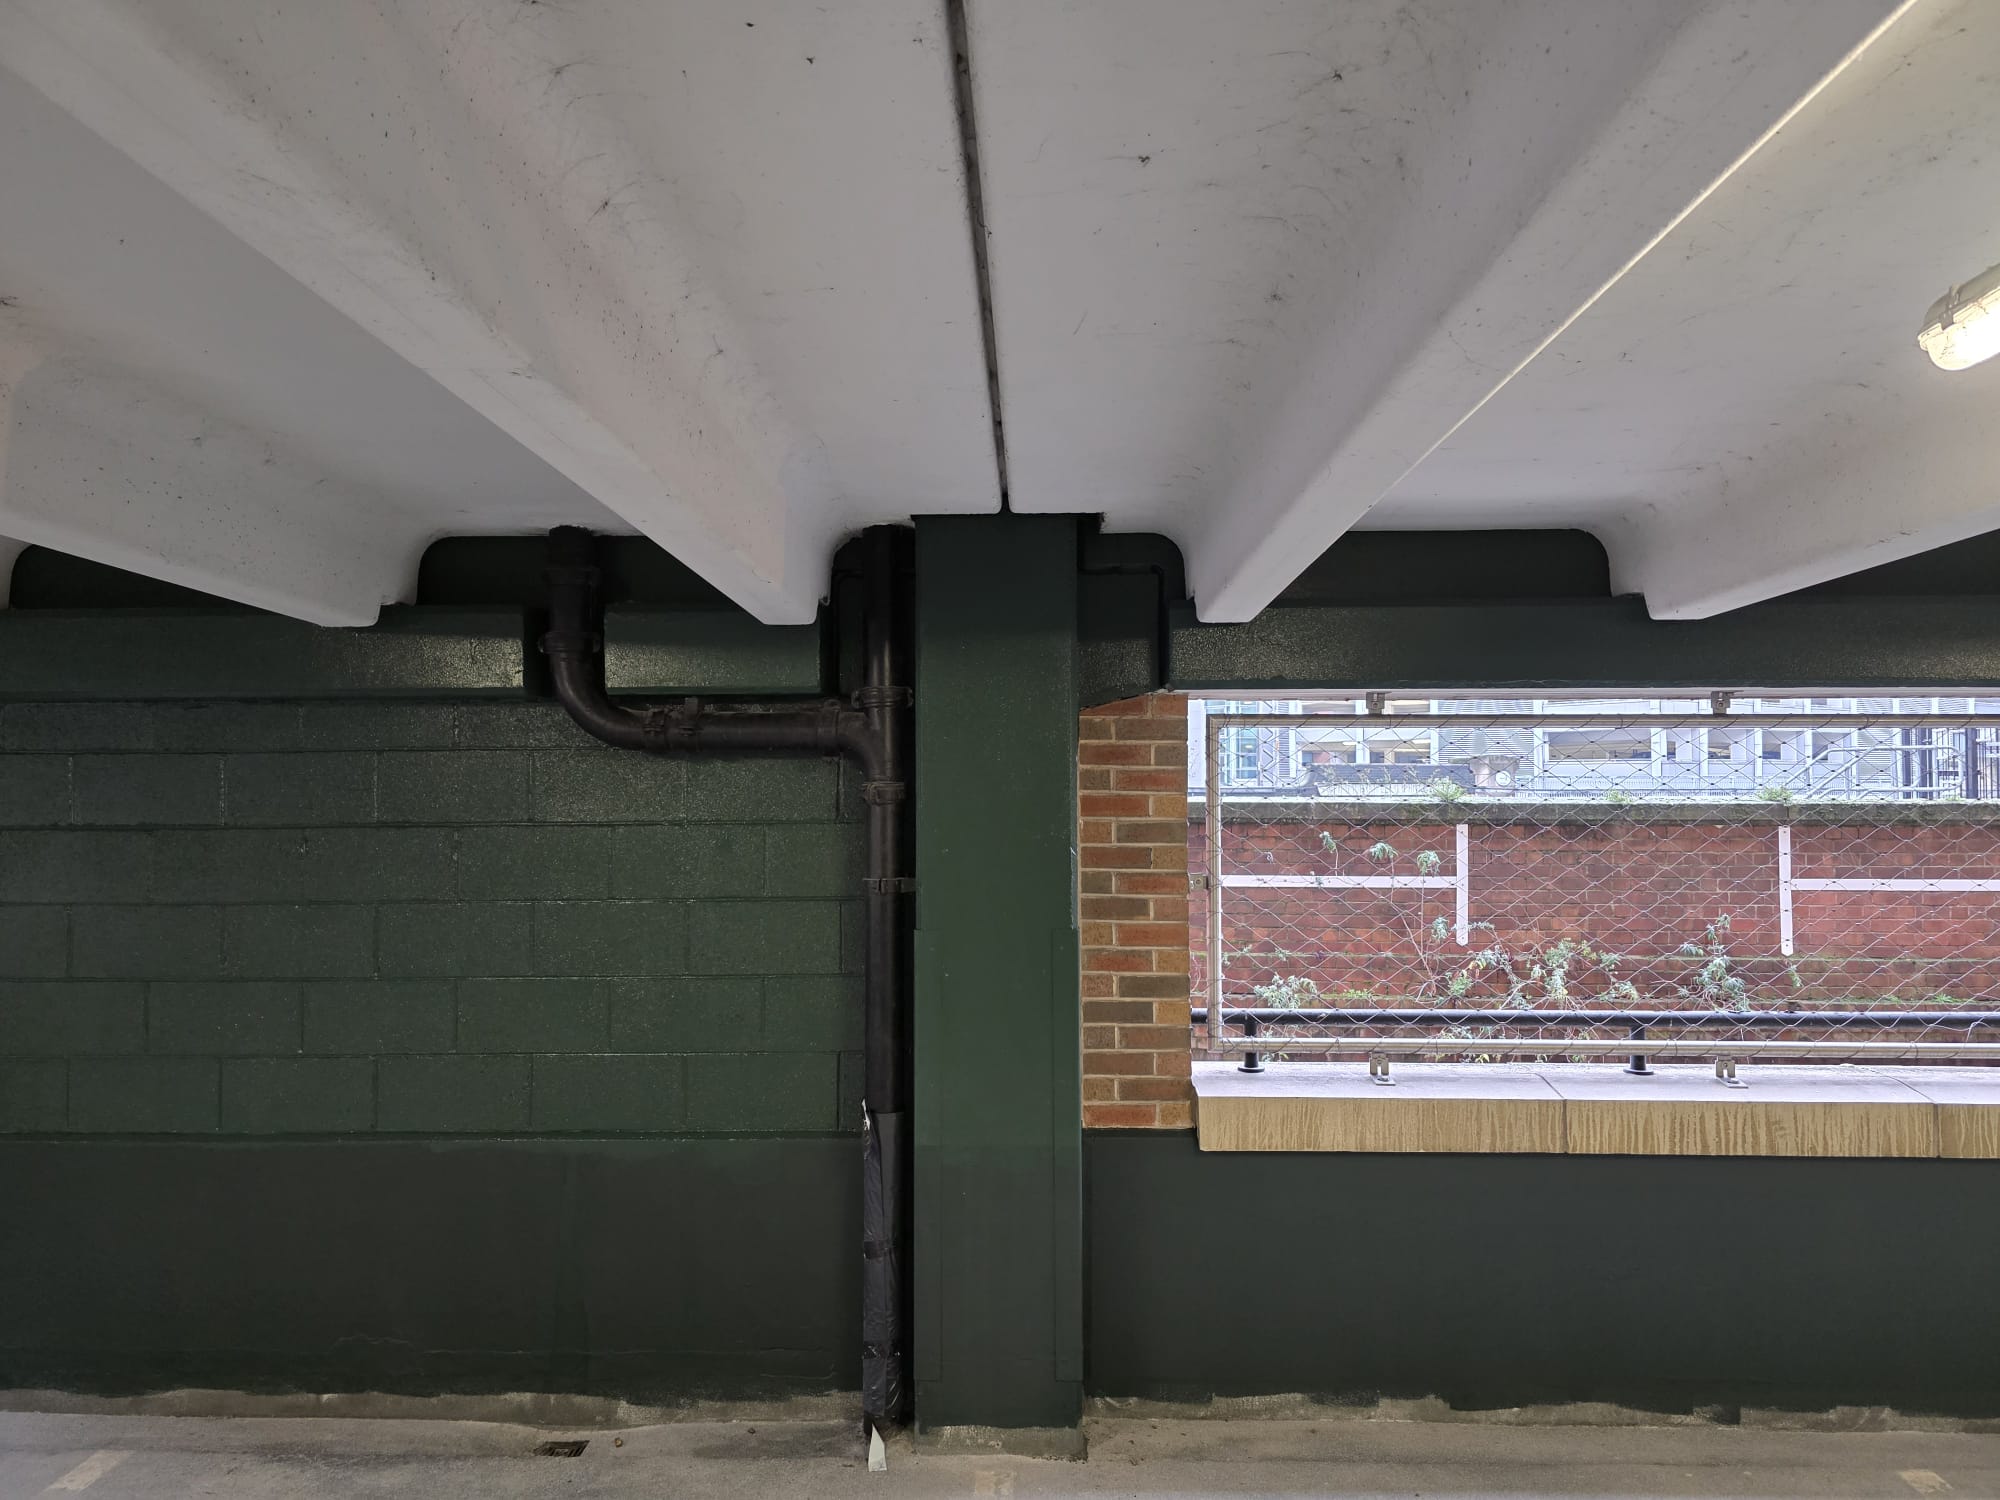
H3 Construct also managed specialist leak detection works following reports of water ingress into the level 7 lift lobby and stairwell. Testing revealed that failed seals in the level 8 lobby window frames and inadequate door thresholds were allowing water to track into lower levels. The remedial scope included sealant replacement, threshold adjustments and patch repair to water-damaged finishes.
Additionally, significant damage was identified to the insulated render system surrounding the staircore. Following destructive testing, H3 confirmed no moisture was present within the render, and full perimeter replacement of the lower 600mm section (96m²) was undertaken using mineral wool-backed, through-colour render to match the existing texture and finish.
Throughout the works, all health, safety and CDM responsibilities were managed by H3 Construct as Principal Contractor. The project was delivered under a JCT Minor Works Contract with Contractor’s Design, and included submission of warranties, repair records, and a full Health & Safety File on completion.
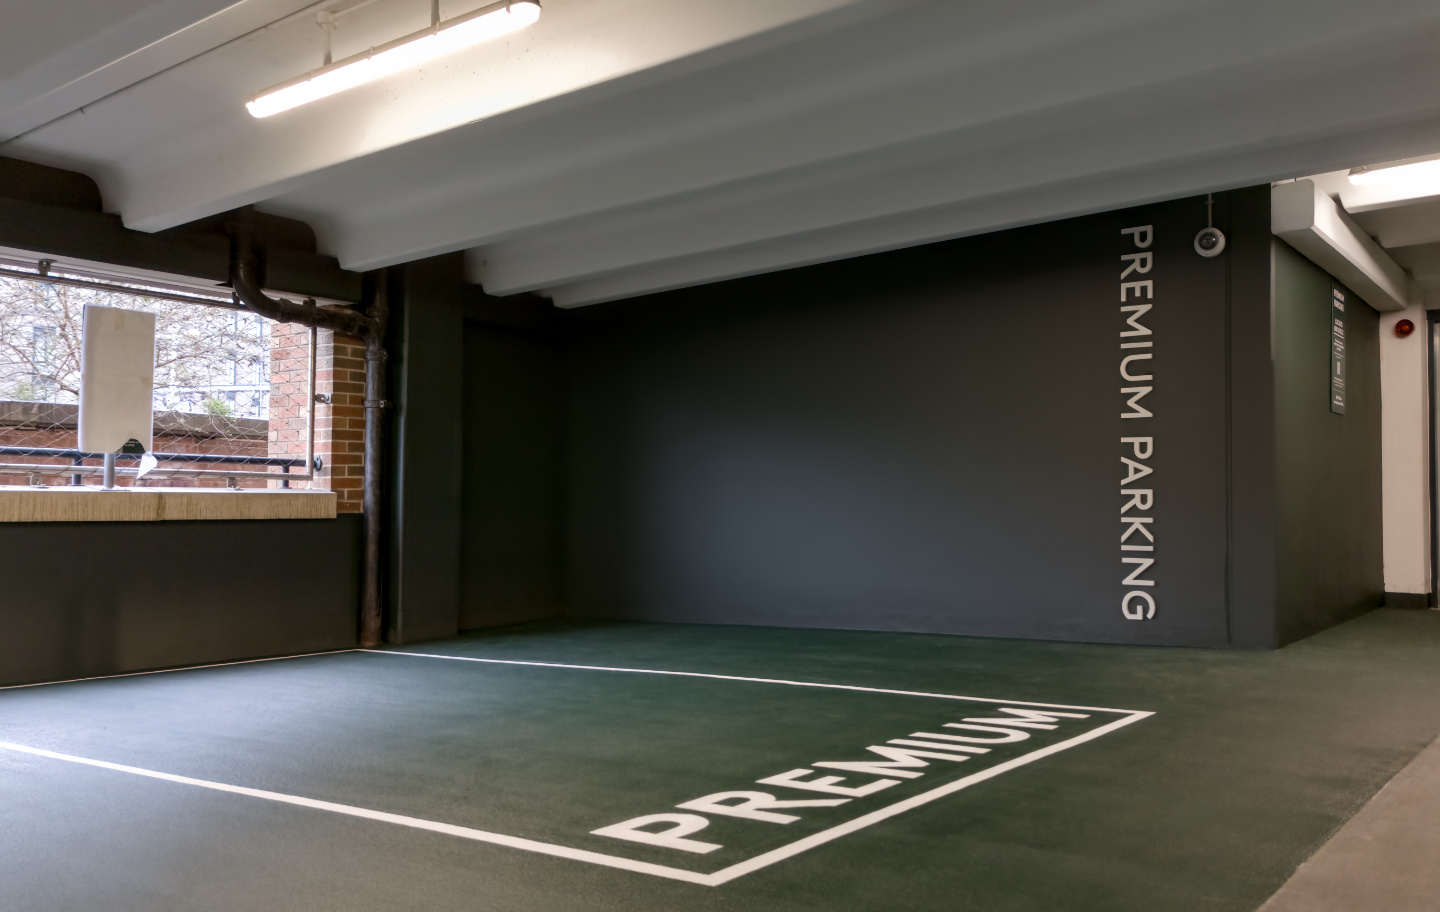
The scheme was completed on time, in compliance with the clients specific standards, and with no disruption to public operations — a result of clear planning, strong technical oversight and a proactive site team.